

11/18/01
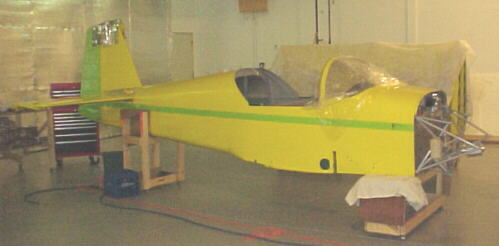
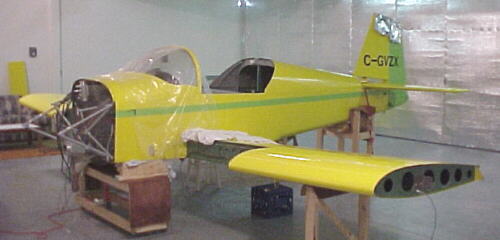
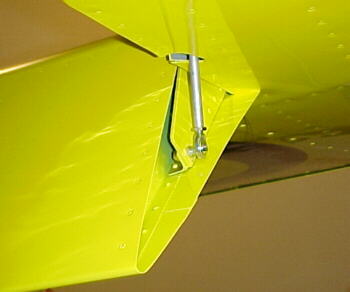
Have installed the engine mount and tail surfaces to date plus riveted in the cabin floor panels. I had to trim a large portion of the lower rudder fairing away to clear the tie down hook mount and fin spar hardware.
11/26/02
Have now installed the elevator pushrod, bellcrank, static system, heater core, header tank and tail wiring. A note on the elevator horn to pushrod bolt installation, my kit had the very samll access panel making it a 2 hour job to install this bolt and the required spacer washers. If you have a choice, make this BIGGER!
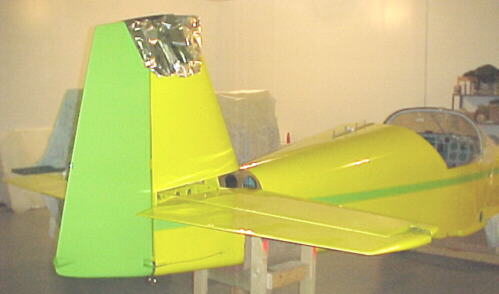
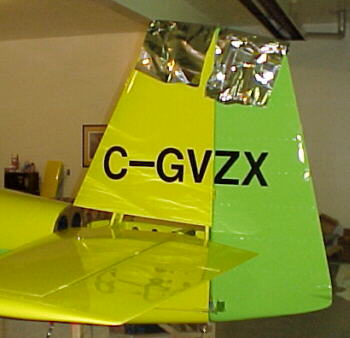
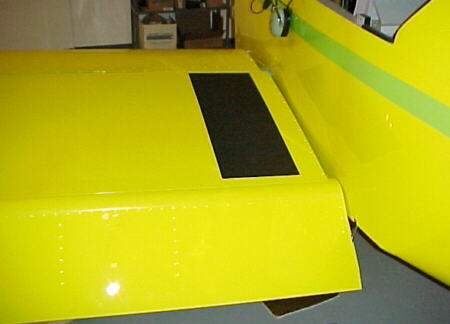
Foil on fin protects fiberglass tip from radiant heater
11/27/02
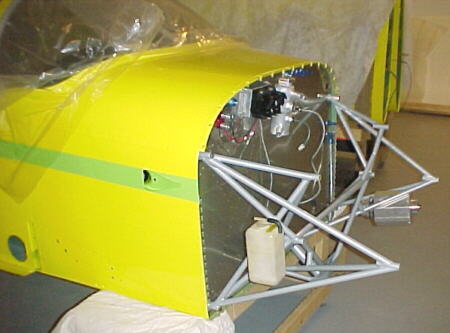
Working on panel, electrics.
12/05/02
Have most instruments installed. Getting into the electrics. Received the interior from Cleaveland Tool.
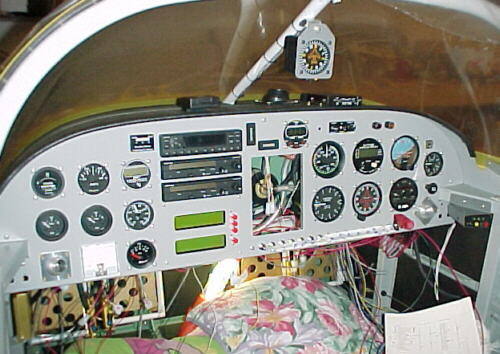
12/12/02
Panel is all installed except for GPS. Wiring is progressing. Ordered 15 pound Hawker battery from Van's along with seat belts, wing walk material. Excellent service from them as usual.
12/16/02
12/27/02>
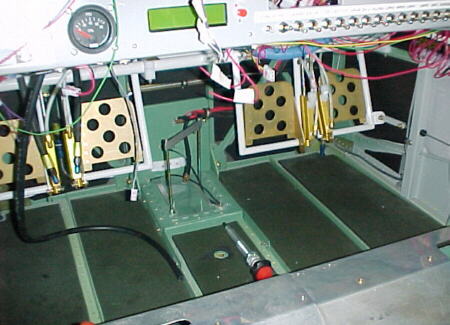
I modified the battery box for the 15 lb. Hawker battery and installed the ELT. I also labelled the panel switches using a DYMO label maker.

Label maker

Lightweight battery installation
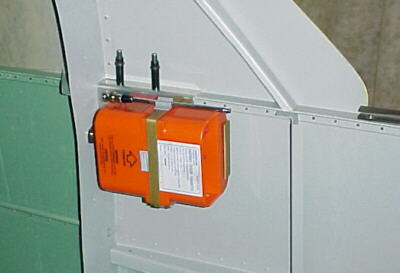
ELT installation
01/06/03
Checked some of the avionics for function and just finishing the rest of the wiring that can be done unil the wings and engine are installed.
01/27/03
Completed the battery tray and cable installation, most of the electrical wiring, brake lines out to the wing fittings, fuel vent lines, interior upholstery side panel installation, heater hose and heater duct hose installation, registration marks, pitot system, wing leveler servo hookup and remote fluid fill feature for the brake resorvoir. Getting close to installing wings now.
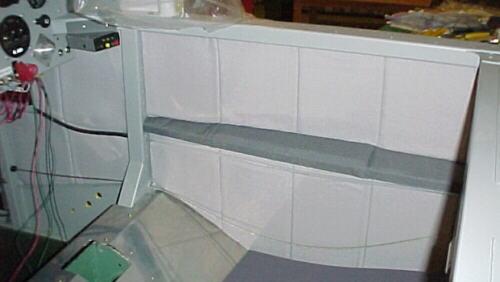
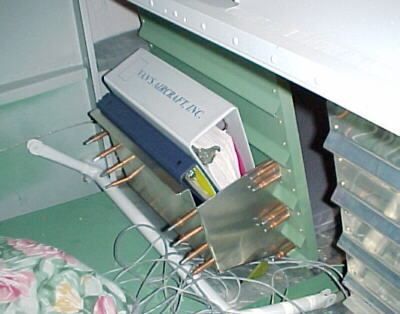
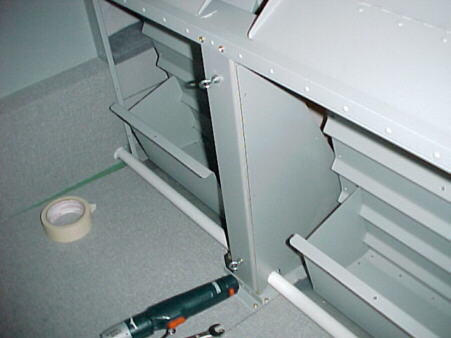
Seat back mounted storage bins hold binders, maps, chocks, tie downs etc.
02/02/03
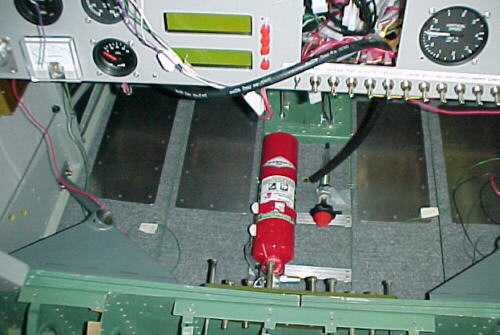
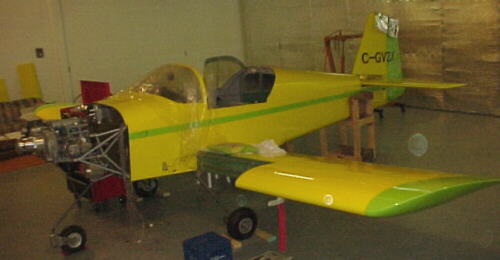
Installed carpet, stainless steel heel plates, fire extinguisher and wings! This is another milestone and it finally looks like a real airplane.
02/05/03
Finally got all the wing bolts installed but not tightened. two for the landing gear mounts are almost impossible to access. I had to sit backwards on the floor and contort my hand to get the nuts started. It should be noted that there is little detail on the fasteners to be used for the wing attach. -15, 16 and 17 AN3 bolts are used. I was short many bolts, nuts and washers in my kit and had to get more from Aircraft Spruce. Also note that many of the bolts required 2, not the specified 1 washer to be sure that the nuts did not bottom out on the bolt shanks before they were tight. THIS IS EXTREMELY IMPORTANT. Some juggling of washer number and thicknesses will be need to be sure the nuts tighten up and are still in proper safety. The rear wing attach bolts also need twin washers to prevent thread bottoming.
02/10/03
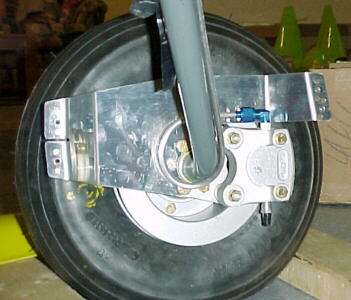
Installed the landing gear, wheels and engine. Aircraft is now resting on its gear. One more milestone. Again Van's hardware recommendations need to be evaluated on the gear. Multiple washers are required to prevent thread bottoming.
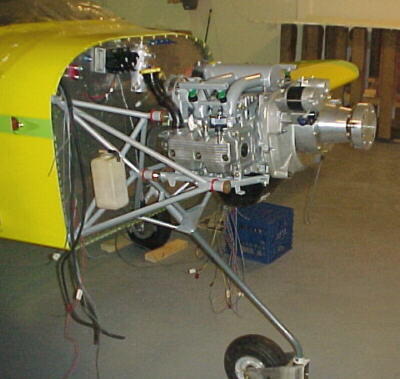
02/14/03
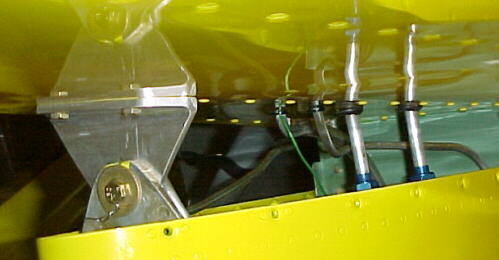
Have installed radiators, exhaust system, EGT probes, intercooler, turbocharger and some of the water and air plumbing.
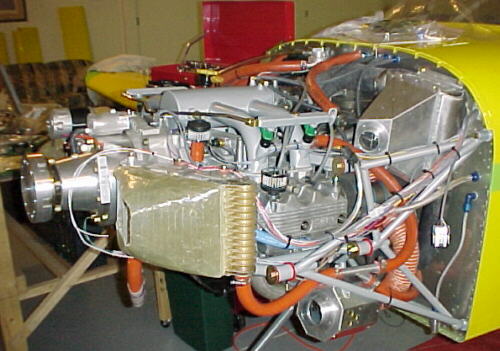
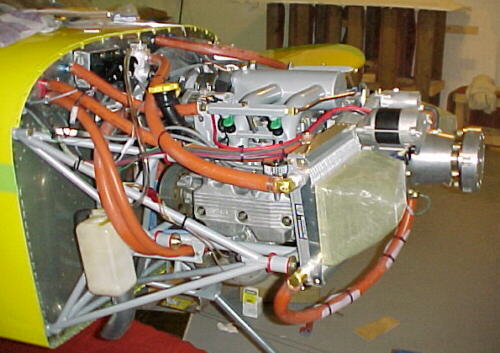
02/24/03
Have now completed most of the engine plumbing and wiring. Working on power controls console and fuel selector installation now.
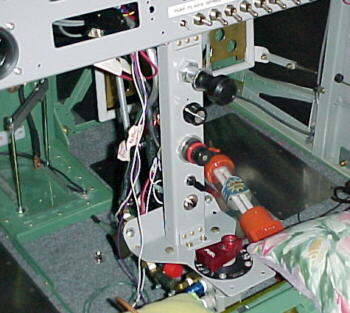
03/03/03
Have the antennas hooked up to the radios and the center console in with fuel selector and engine/prop controls. Installed injector harness.
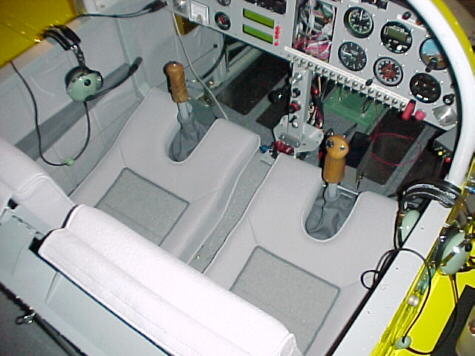
03/11/03
Completed the wiring except for the flap motor. The sticks are installed with mic buttons and trim hat switch. SDS engine monitor LCDs are installed and checked. Starting on fuel lines now.

03/14/03
Wing tanks, fuel and brake lines are now installed, starting on installing ailerons, flaps and fixing some avionics glitches.
03/18/03
Installed the ailerons and pushrod connections. This is quite time consuming. I had to shorten both main aileron pusrods 3/8 of an inch each and the stick link pushrod about 1/4 inch from the plans. I'd recommend doing this before installation. Lock the bellcranks in neutral position with the 1/8 rods through the angle aluminum holes. Adjust the bellcrank to aileron pushrod lengths for alignment with the wing tip trailing edges. Next adjust the rod ends on the stick link rod to get both sticks in the vertical position. Adjust the main wing pushrods to length for vertical stick and neutral aileron position. Fine tune with the bellcrank to aileron pushrods.
Be aware of the proper sequence and number and thickness of spacer washers used on the rod end bolts. A trick that I used to insert the very hard to reach ones was to take about a 3 inch long strip of electrical tape and tape to the face of the washer on each side so that the hole is still exposed for the bolt to go through. Fold the tape flat. Now you can grab the tape and work it between the rod end and mount without dropping it. I used this many times on all the rod ends.
Watch the main pushrod to bellcrank bolt length. I had to install shorter ones here as they could snag the support and jam the aileron control if something was to deflect. This has happened in other aircraft!
03/25/03
Completed installation of interior, stick boots, canopy, flaps and actuator.
You will need a 90 degree, 7/16 wrench to tighten the flap pushrod nut. I just heated up a cheap wrench with a torch and bent it.
03/31/03
Put fluids in the aircraft and finished all the minor things on my list prior to the final inspection. Tried starting the engine but found the started would not engage the ring gear. This will take some time to solve. Have a slight brake fluid leak from one of the low pressure nylon fittings.
04/18/03
Got the brakes bled, starter problem fixed, test installed prop, spinner and cowlings. With the 3 blade prop, cowling fitting is VERY tight so beware of this if you don't use a 2 blade prop. Completed the weight and balance. Aircraft C of G was good and empty weight with all fluids, full interior, ELT, first aid kit, seat belts etc. was 1124 lbs. A bit heavier than I would have liked but not unexpected for the panel, interior and extra temperature/ pressure monitoring equipment fitted. I find it hard to swallow that many well equipped RV6s with full panels, O-360, strobes, lights, 65 lb. C/S prop, heavy battery and full interiors actually weigh less than 1100 lbs. with the other legal equipment required. Sounds like funny math to me. Van's prototype with a light prop, O-320 and minimal interior/panel was 985 lbs. How could you possibly have an O-360 with C/S prop, full panel, strobes, full interior etc. weigh 1050 or so?
Also completed first systems checks with fuel in the tanks and started the engine for the fisrt time. A big milestone! Will be re-installing the prop shortly to begin proper ground running tests.
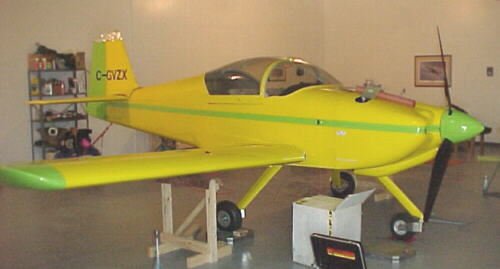
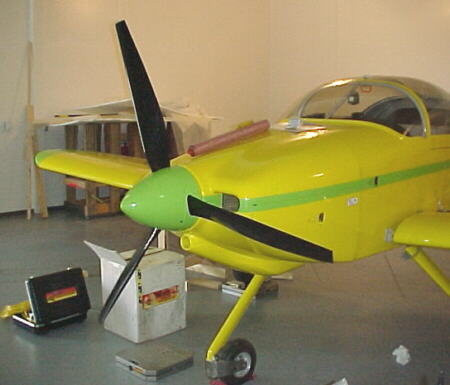
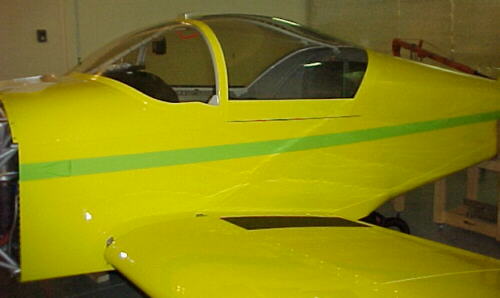
Looks so much better with cowling and prop installed!
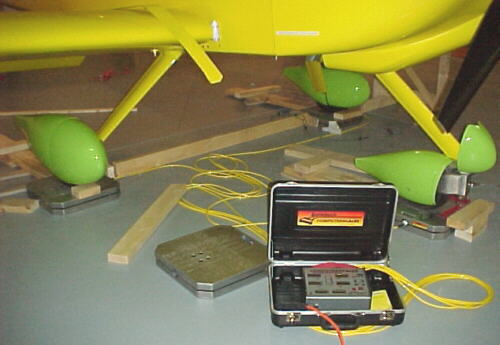
Weighing aircraft for C of G check. Required 2.5 inch blocks under main tires to level.

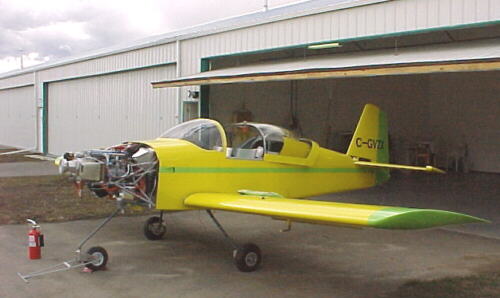
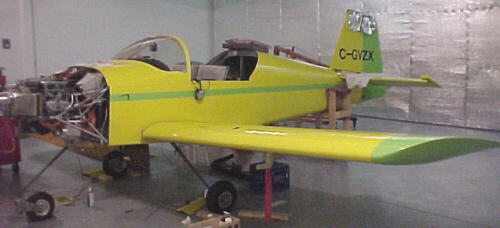
RV finally sees the light of day!