

10/05/02
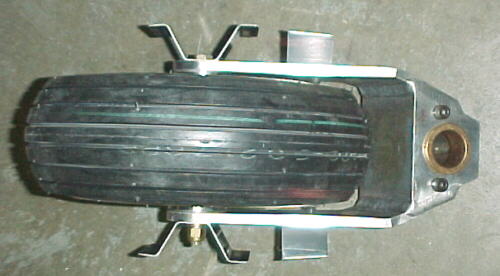
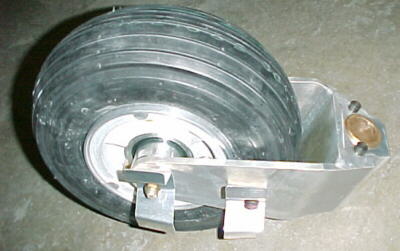
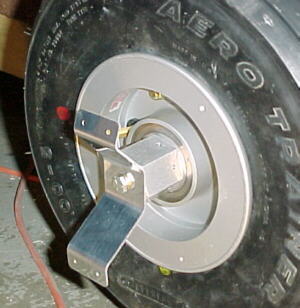
I installed the tires on the wheels. The main tires were fairly easy. Be sure to coat the tubes and inside of the tires in talcum powder. This is very important. There is a lack of general info in the manual again on this aspect. The nose tire presented some additional problems. The shape of the tire would not allow the rim halves to be bolted together so I had to build a clamping device from some redi rod, 2 nuts and a couple steel discs. This went through the center of the hub to draw the halves together. The tire does not pop onto the bead like the mains. When the air is released, the tire comes off the bead.
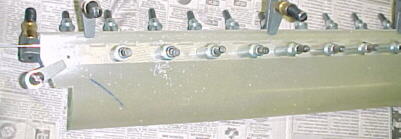
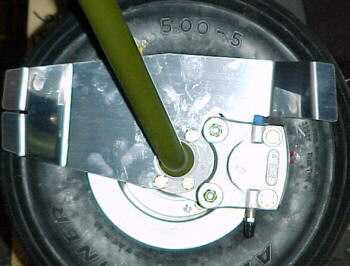
Van's was nice enough?? to chromate the entire main gear legs. This ensures that the builder must sand this off for the bearing and brake harware to slide over the axle stubs. I used 320 grit sandpaper to remove the chromate. The same holds true for the brake caliper mounts which Van's again thoughtfully?? powder coated. I had to sand the inner surface off to allow the caliper mount to slide over.
I assembled the nose gear fork and tire assembly plus the wheel pant mounts.
05/15/02
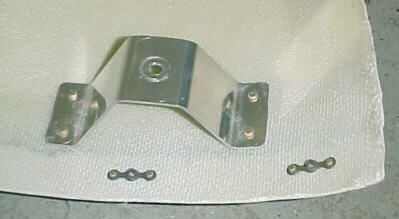
Mounted up the brake/wheel/pant mounting assembly on the mains. Found the inboard pants mount plates were labelled backwards. Had to make longer spacers for the right side assembly as the brake rotor was touching. Plans call for a 4-5A bolt to hold the outer pant mount on. This was not supplied in my kit plus they want you to safety wire a non-drilled head??
The leg fairing plans ask you to use a certain dimension from a mould line to place the template. This mould line was almost invisible on my fairings. Turned out to be about .200 from the inboard edge. Look carefully.
05/21/02
I riveted the hinges to the leg farings. I placed the hinges 9/16 form the trailing edge of the trimmed fairings.
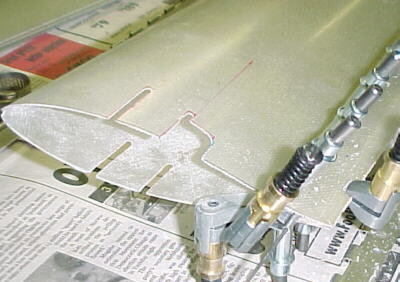
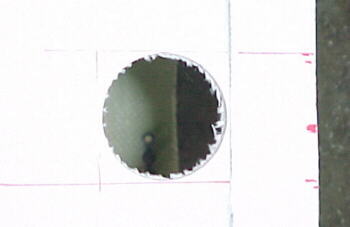
The wheel pants fit together reasonable well. I had to do some sanding and filing to get a good mating line. I drilled and clecoed for the #6 nutplates. After much fitting and measuring, I drilled a 1.25 inch hole with a hole saw in the fairing with the centerline .625 behind the rear parting line and cut out the remainder with an abrasive disc. Looks like these were in about the correct location.
05/28/02
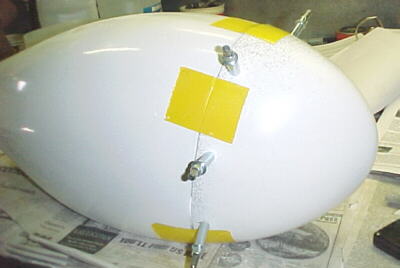
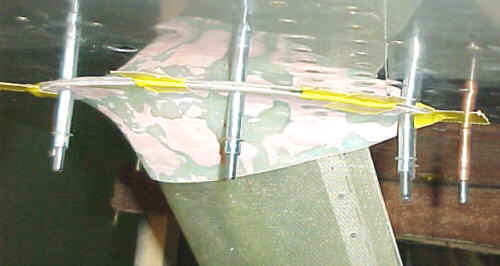
I spent a lot of time with the ruler and plumb bobs to determine lateral and longitudinal alignment of the pants with the airflow. I then clamped the outer pant mounts in place with C clamps and carefully removed the pants to be able to drill through the existing holes in the brackets. I Installed the nutplates for the pant mounting screws on the inner brackets after carefully marking the location and slowly drilling through the pant and brackets. Check the rivet length recommendation on the plans here. Mine was not the same as specified.
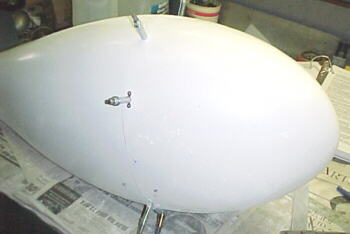
I then started on the nose wheel fairing. There was a serious mismatch in the front and rear pieces. With a heat gun, I was able to successfully reshape the front piece and close this gap.
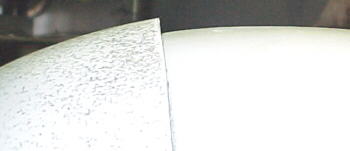
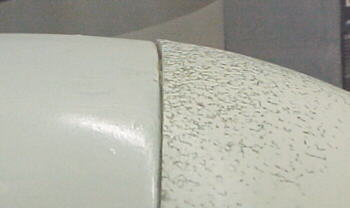
I sanded the pieces to allow a better fit and added the nutplates to join the two halves together.
06/05/02
Back to the main gear legs. After much thought and looking at the cracking mess on some other RVs, I decided not to make a intersection fairing between the gear leg fairing and the wheel pant. Seems like a lot of work for a knot or two and I don't like the idea if a semi rigid structure in fiberglass trying to flex when the gear leg does.
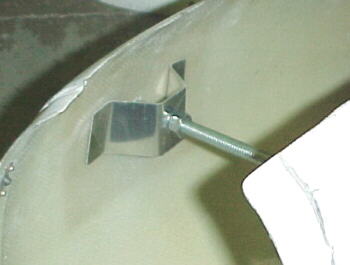
I did decide to make an intersection fairing at the fuselage/leg junction due to the cross sectional area here and the fact that there is an exposed hole in the fuselage bottom here which will likely make for some major wind noise.
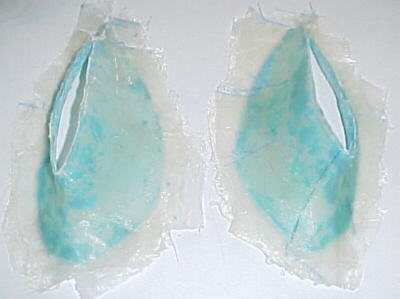
I bought some Plasticine at the hobby shop and started molding after protecting the fuselage bottom and leg fairing with packing tape. I took a couple of hours to get a pleasing shape.
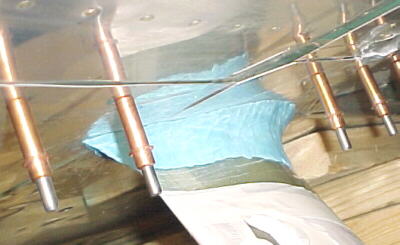
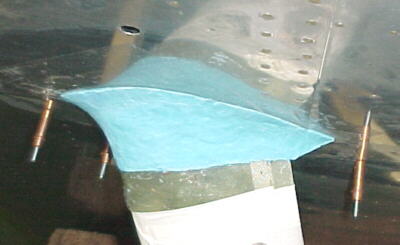
I applied two coats of epoxy resin to seal over the clay and will start laying cloth tonight. I love fiberglass work! Especially squatting underneath the a/c looking up, with resin running down the brush and your hand.
06/11/02
Layed several layers of cloth, allowing 24 hours to dry between each. This is not a fun job. Don't get too many layers on or you will have a hard time flexing it for removal. I plan to lay the other layers on when right side up on the bench. Much easier than looking up at it with resin dripping all over. Not pretty yet but the basic shape is there and they should look ok when sanded and filled. I'd recommend using mold release on the clay as mine did not peel off too easily. The packing tape on the skin worked fine.

06/18/02
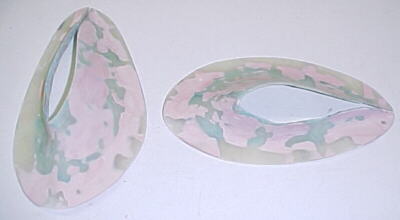
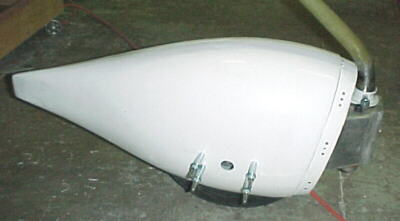
I used auto body filler to smooth out the bumps and dips. Lots more sanding. Trimmed off with abrasive wheel and sanded the edges. While this is not a hard job, it is a crappy and time consuming job. I spent 15 hours on these things getting to this point. Still more time will be required to mount them.
06/19/02
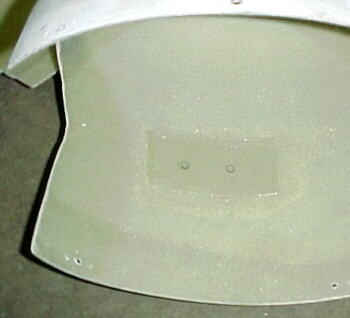
I peeled off all the packing tape from the fuselage and gear leg fairings. Carefully measured and marked for drilling holes through the intersection fairings into the belly, making sure not to hit anything. Will be mounting with #6 screws and nutplates. Look pretty good.
06/30/02
I added two layers of glass cloth on the backside of the attach points on the wheel pants for extra strength.
I punch marked the axle nut holes and also marked with a pilot marker. Removed gear legs and center punched several more times as these holes are in the threads and might be difficult to drill. I started with a 1/16 drill to make a deeper depression, then enlarged to 3/32, then 1/8. I deburred the inside and carefully refiled the threads near the holes with a fine file.

09/23/02
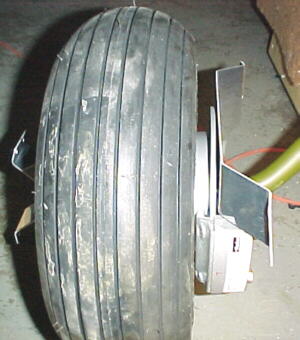
Started fitting the nose gear leg and fairing.
09/24/02
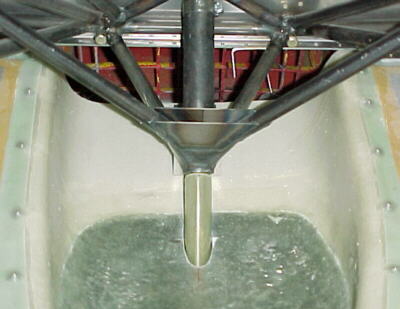
Followed the manual instructions although I could find no Figure 10-9 in my manual for locating the bracket holes. I drilled most of mine from inside the wheel pant. I will guess at how much the leg bends when the whole weight of the aircraft is on it to get the right angle on the wheel pant. Van's should have a procedure for setting this with the leg relaxed as most people will not have the aircraft fully assembled when doing this.
09/26/02
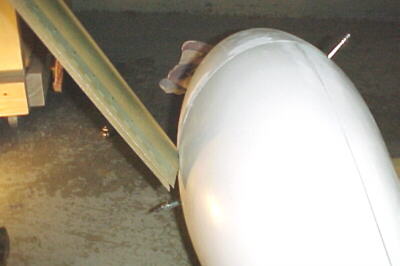
I set the angle of the pant and notched the front cap to clear the leg and leg fairing. My pant ended up with a .125 gap between the front edge and the leg. All notching was done on the front cap. I drilled and clecoed to the mounts. I had to do lots of trimming for the pant to clear the tire. The leg fairing was way too long. I trimmed over 1 inch off the top end to get a proper fit then fitted the hinge on the trailing edge. I am hose clamping both ends of the fairing and fitting a flat aluminum gap seal on the cowling bottom instead of another fiberglass fillet fairing. I drilled a 3/4 inch hole in all the pants to allow access to the valve stem for filling.